Creating High-Quality Online Course Content Without Spending a Dime


Developing high-quality course content is at the heart of a successful online course. However, if you're trying to create an online course for free, you might wonder how to create compelling content without breaking the bank. Here are a few strategies to help you develop stellar online course content on a shoestring budget.
Leverage Free Online Tools to Create Course Content for Free
There's a wide array of free online tools that can assist in creating quality course content. For instance, tools like Google Docs can help you draft and edit your written content, while Canva offers easy-to-use design features for creating visually appealing graphics.
Google Docs
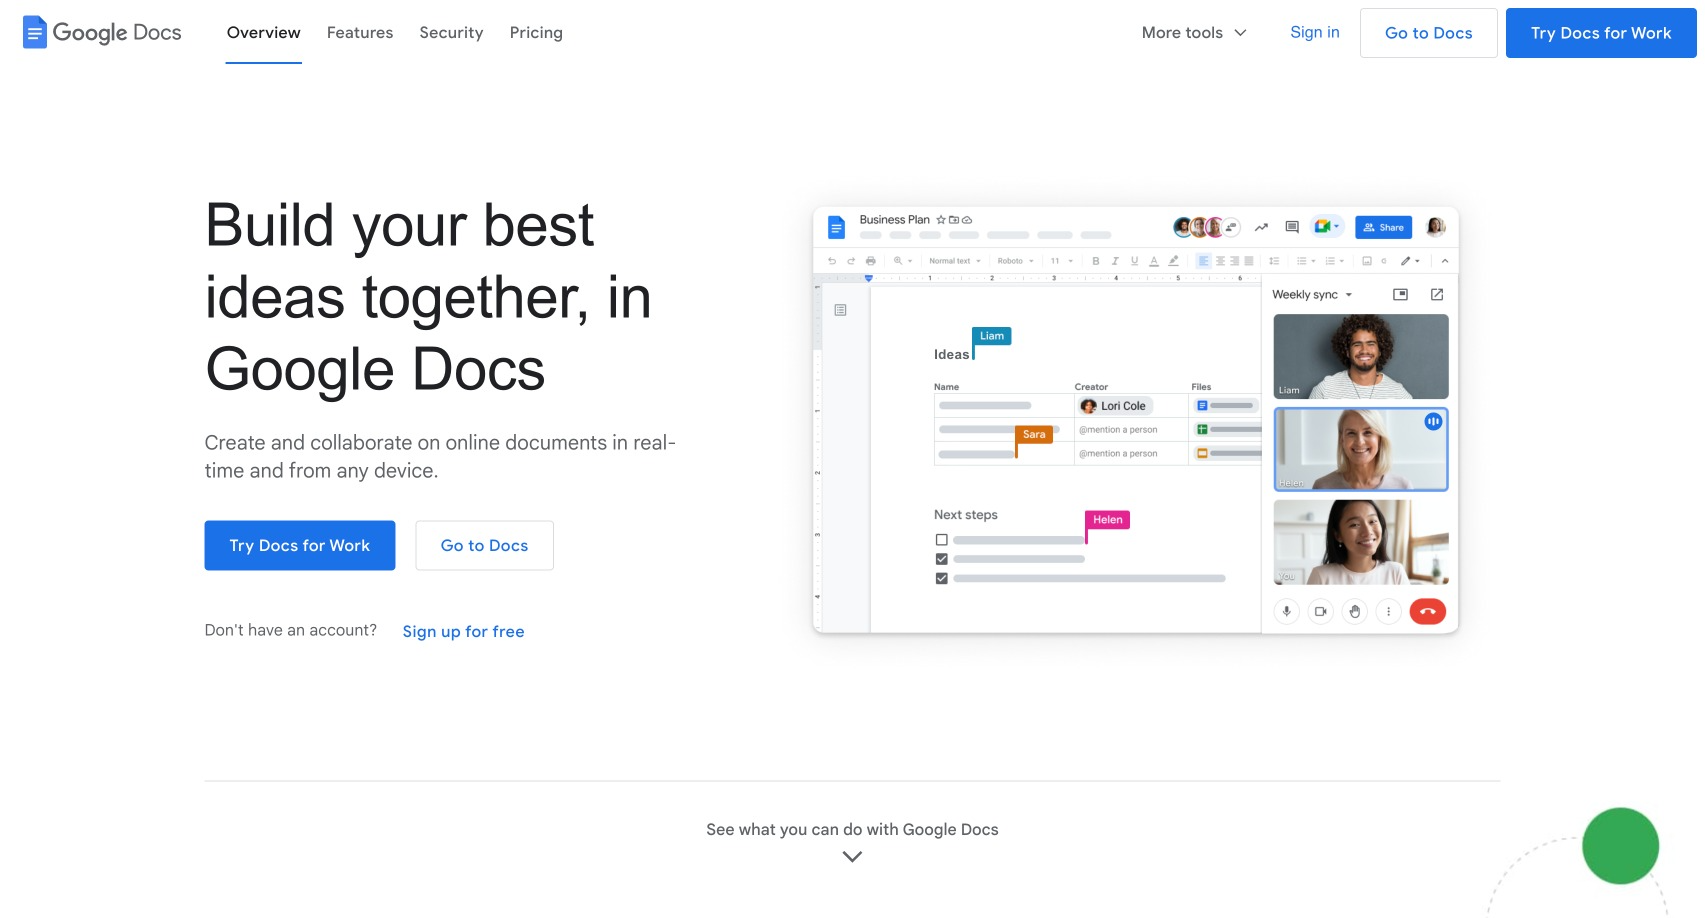
Google Docs is incredibly versatile, allowing you to draft and shape your courses or content effortlessly. It boasts a user-friendly interface that makes it a breeze to navigate, facilitating seamless collaboration among team members.
Moreover, the abundance of excellent formatting options enables you to precisely customize and refine your work. And the best part? Your progress is constantly saved in the cloud, offering you peace of mind and eliminating the risk of losing any valuable work.
Canva
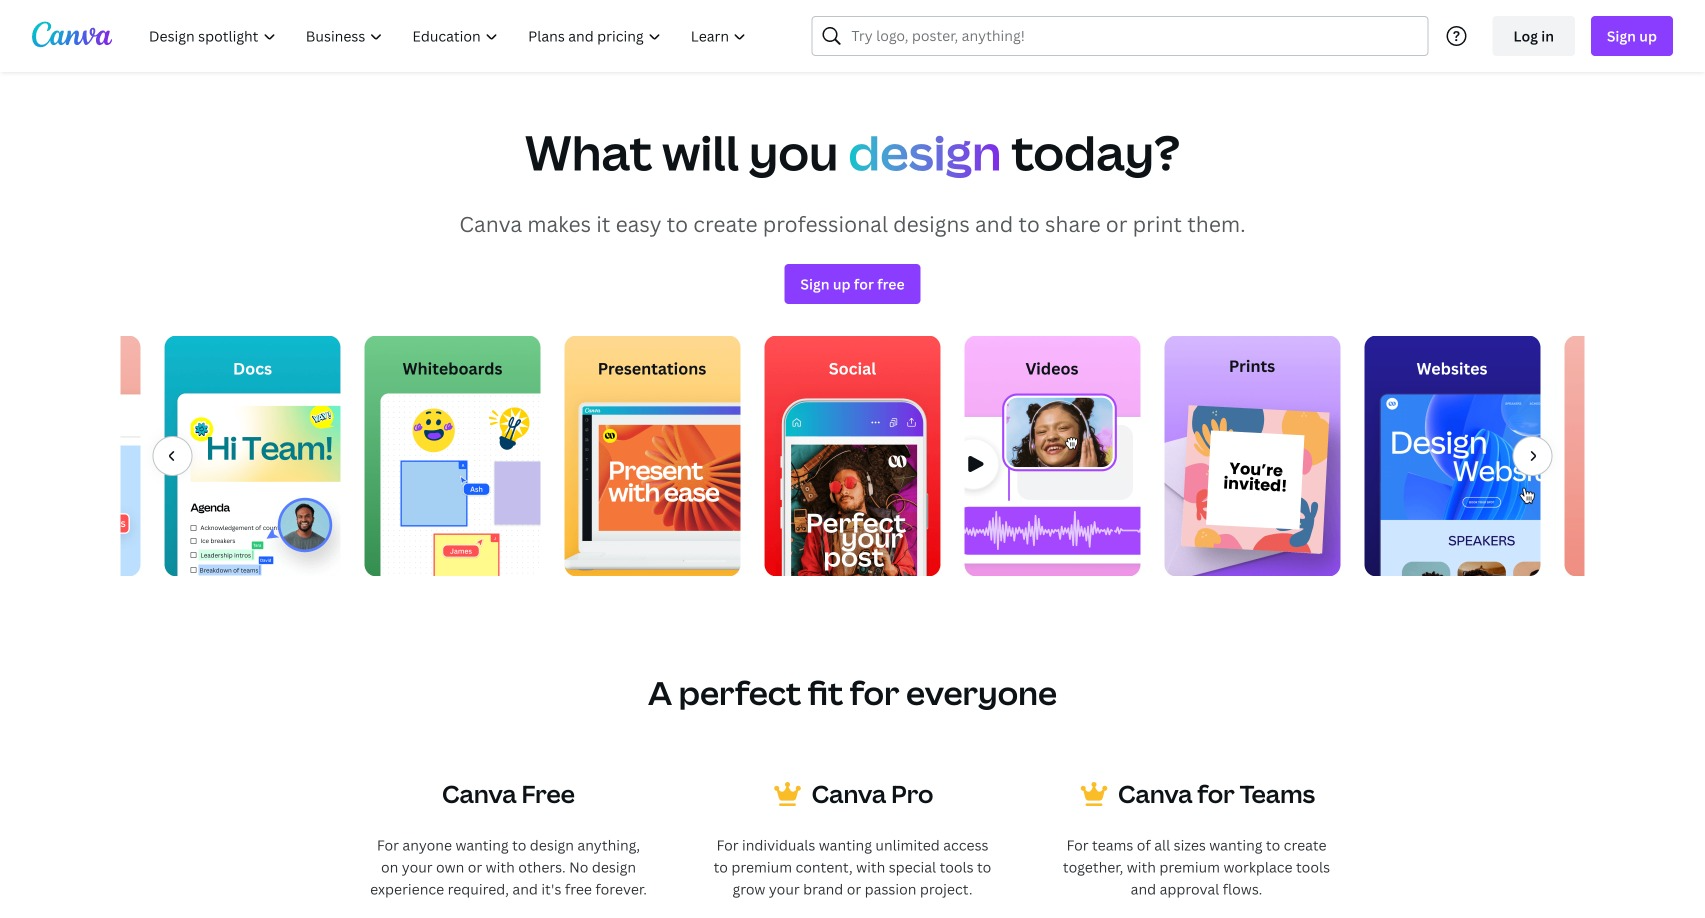
Canva is an exceptional free tool offering an extensive range of features for designing stunning graphics tailored for your online course. With a plethora of professionally designed templates and a vast library of high-quality images at your disposal, you can effortlessly create eye-catching course headers, captivating landing pages, informative infographics, visually appealing diagrams, and so much more.
Utilize the power of Canva to captivate your audience and elevate your and sell online courses and course content to new heights of engagement and aesthetic appeal.
SlidesGo
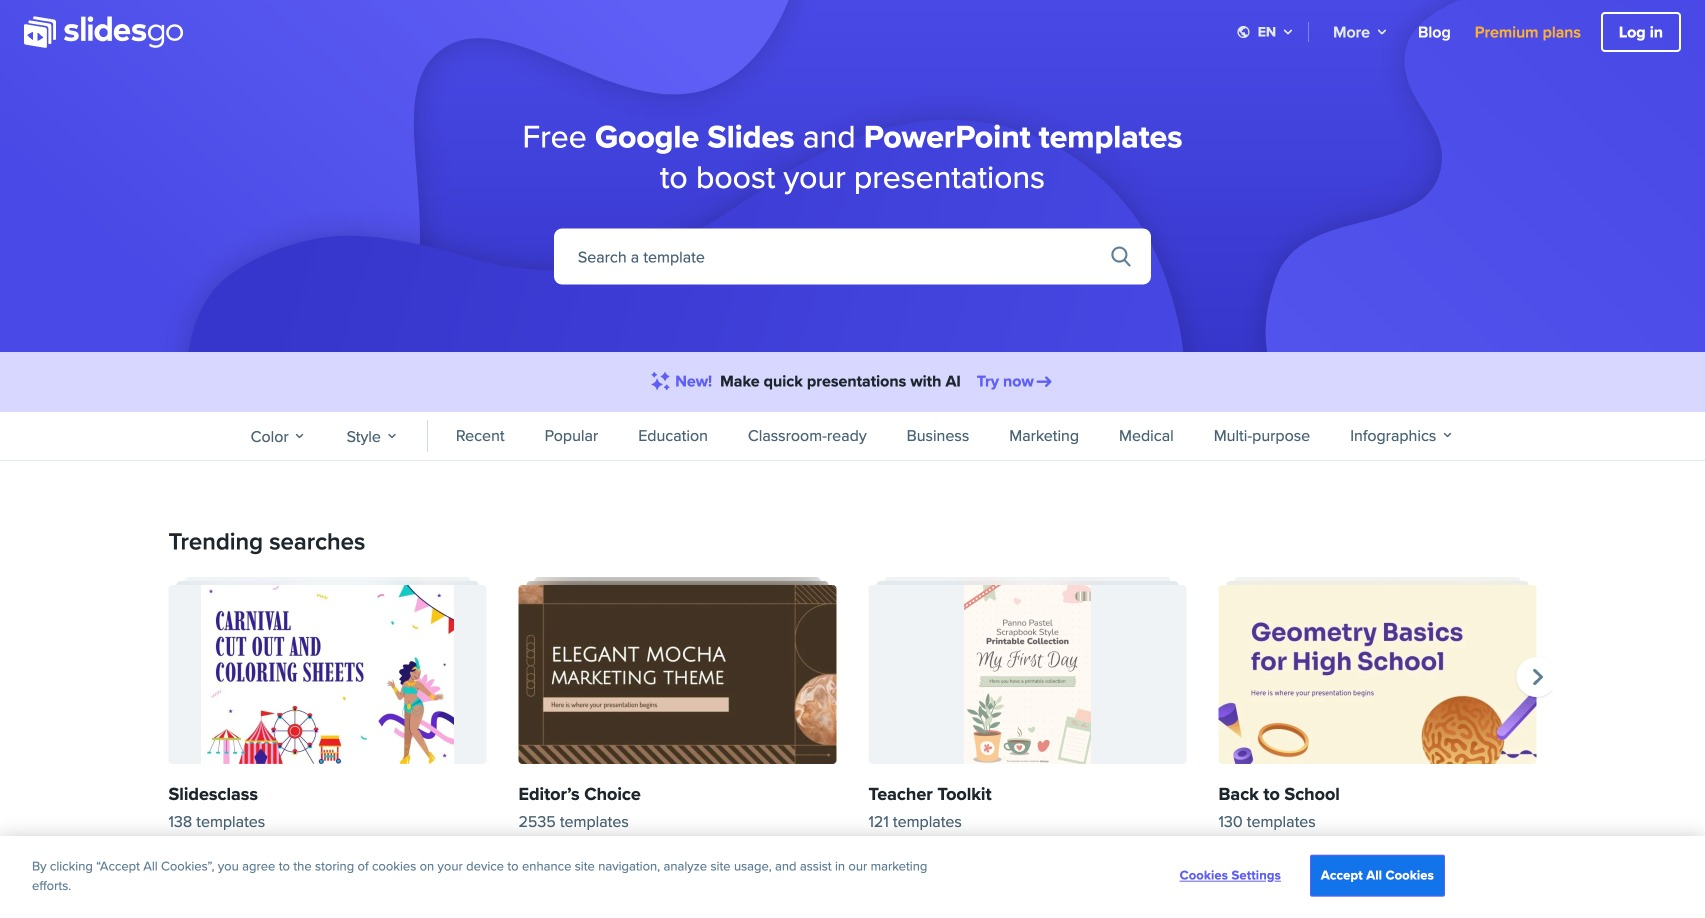
SlidesGo, a leading platform, provides an extensive collection of free PowerPoint and Google Slides templates. With these highly customizable templates, you can effortlessly create impressive slide decks for engaging video lessons or downloadable course material, elevating the overall learning experience for your audience.
ScreenPal (formerly Screencast-O-Matic)
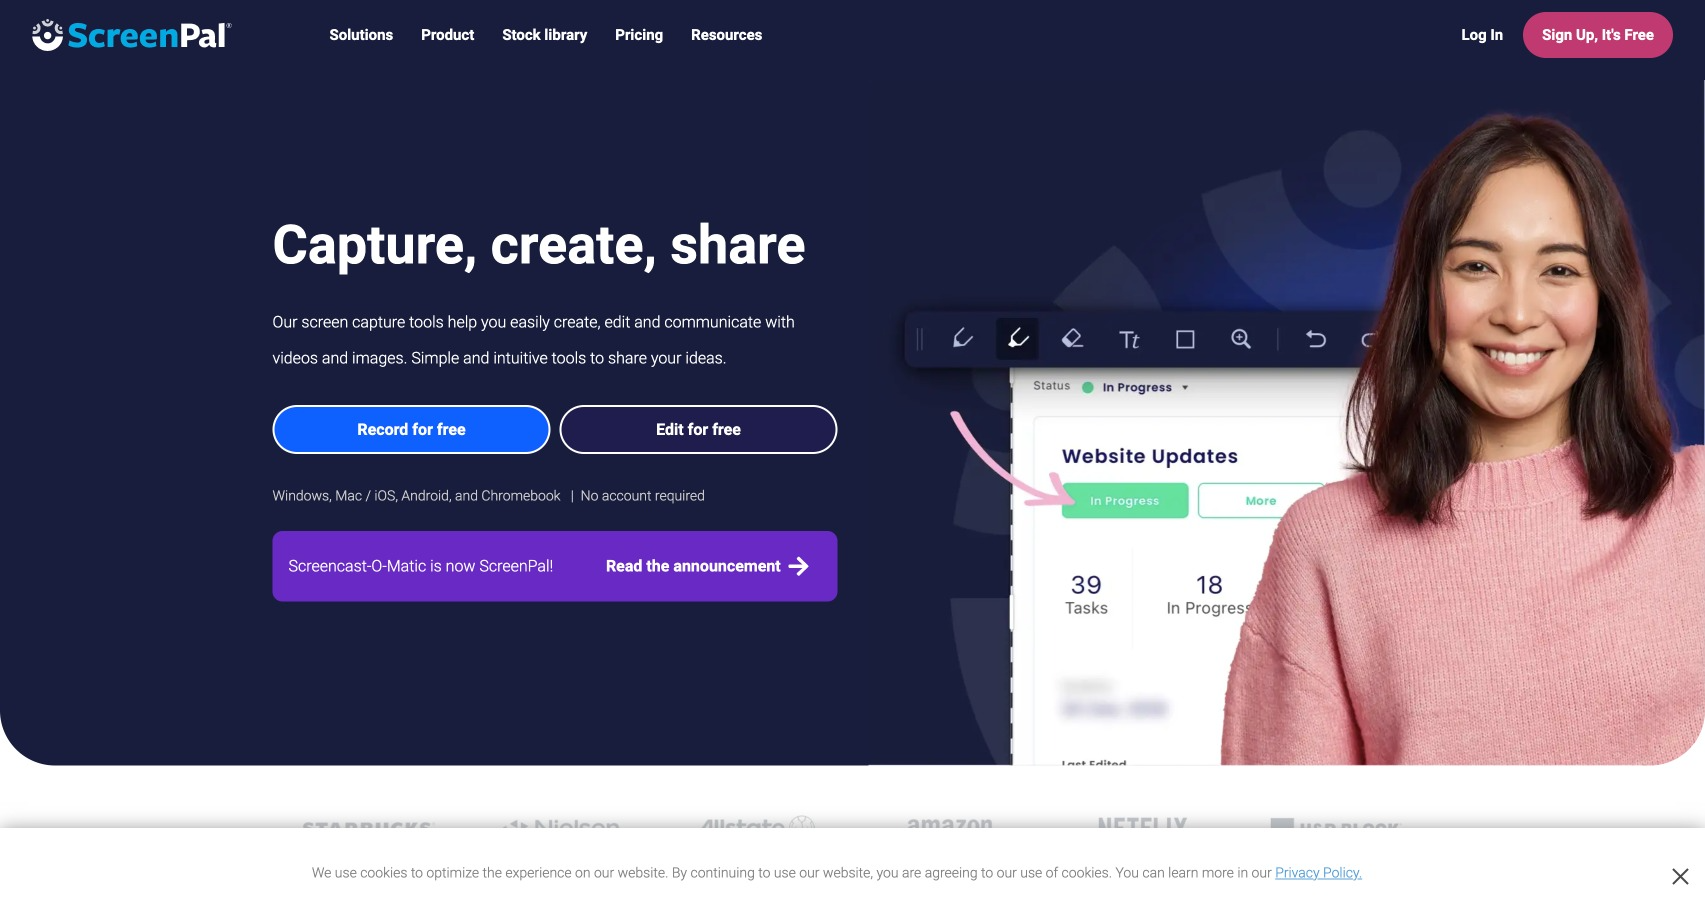
This excellent free screen recording tool is perfect for creating informative and engaging video tutorials. ScreenPal offers a user-friendly interface, making it incredibly straightforward to use. This tool lets you record your screen, yourself, or both simultaneously, allowing for seamless and dynamic video content creation.
Whether you're a teacher, a content creator, or simply someone who loves to share knowledge, this screen recording tool is a must-have in your toolkit!
Loom
Like Screencast-O-Matic, Loom is a powerful screen recording tool that captures and synchronizes your screen and voice. It's a fantastic tool for creating engaging and informative video explanations or step-by-step walkthroughs to support and engage your students in an interactive learning experience.
Kahoot
Kahoot empowers you to create engaging, interactive quizzes absolutely free of charge effortlessly! Explicitly designed to captivate your students' attention and foster active participation, these quizzes are an excellent means to make learning a delightful experience and reinforce the valuable lessons covered in your course.
Say goodbye to mundane teaching methods and embrace the excitement of creating courses and interactive quizzes that will truly elevate your students' educational journey. Let the fun and effective learning begin!
Google Forms
Utilize the power of Google Forms to gather valuable feedback from your students. With this versatile tool, you can effortlessly create customized surveys or questionnaires to gain insights into their perspectives and experiences.
The best part? Google Forms automatically organizes your responses, saving you time and effort. The collected data is conveniently stored and accessible in Google Sheets, allowing you to analyze and derive meaningful conclusions.
Spotify for Podcasters
If you're looking to incorporate engaging podcast-style content into your course, Spotify for Podcasters (formerly known as Anchor) is an exceptional solution. This user-friendly and entirely free tool allows you to effortlessly record and distribute your audio content across numerous popular podcast platforms.
Whether you're a seasoned podcaster or just starting your content creation journey, Spotify for Podcasters will provide you with the necessary tools and platform to reach a wider audience and make an impact with your course material.
Vimeo
Regarding hosting your course videos, Vimeo is an outstanding platform to pay attention to. While it offers a free version with some limitations, it more than compensates with its high-quality video playback and seamless compatibility with various online course platforms. Rest assured, Vimeo has got you covered in terms of delivering a top-notch viewing experience for your students.
Online Course Software Notes
Now, it's important to note that while these tools are free, many also come with additional premium features.
So, as you embark on your course creation journey, take advantage of the free versions to get started. As your course grows and your needs evolve, you can always consider investing in the paid features that align with your requirements.
This way, you can unlock even more valuable features tailored to your specific needs, giving your premium course library the competitive edge it deserves.
Use Your Smartphone for Recording Your Online Courses

You don't necessarily need to invest in a fancy camera to create high-quality video lessons. Nowadays, most modern smartphones conveniently offer excellent built-in cameras capable of recording high-definition videos.
All you need to do is find a quiet, well-lit space with sufficient lighting and a stable surface to mount your phone. With these simple arrangements, you can confidently begin recording your engaging and informative video lessons. So, get ready to share your knowledge with the world!
Understand Your Phone's Capabilities
Most modern smartphones are equipped with high-definition or 4k cameras that boast exceptional capabilities when it comes to recording videos of outstanding quality. To fully utilize your smartphone's camera, it is recommended that you take some time to familiarize yourself with its various settings and features.
Take some time to explore the available recording modes and resolutions. Try experimenting with them to find the best settings for your video lessons. This way, you can ensure your audience has an exceptional learning experience.
Ensure Proper Lighting

When it comes to recording high-quality videos, good lighting plays a crucial role. While natural light is always the best option, it's essential to ensure that the space is adequately lit if you find yourself indoors. Avoid backlighting, as it can create a silhouetted effect, making you less visible. Instead, position yourself with the light source in front of you to ensure proper illumination.
And if you're looking for additional control over your lighting setup, investing in an affordable ring light can be a game-changer. Its adjustable brightness levels and versatile positioning options allow you to achieve the perfect lighting conditions for your videos, enhancing your recording quality. So, remember, good lighting is critical when recording videos that captivate your audience!
Stabilize Your Phone
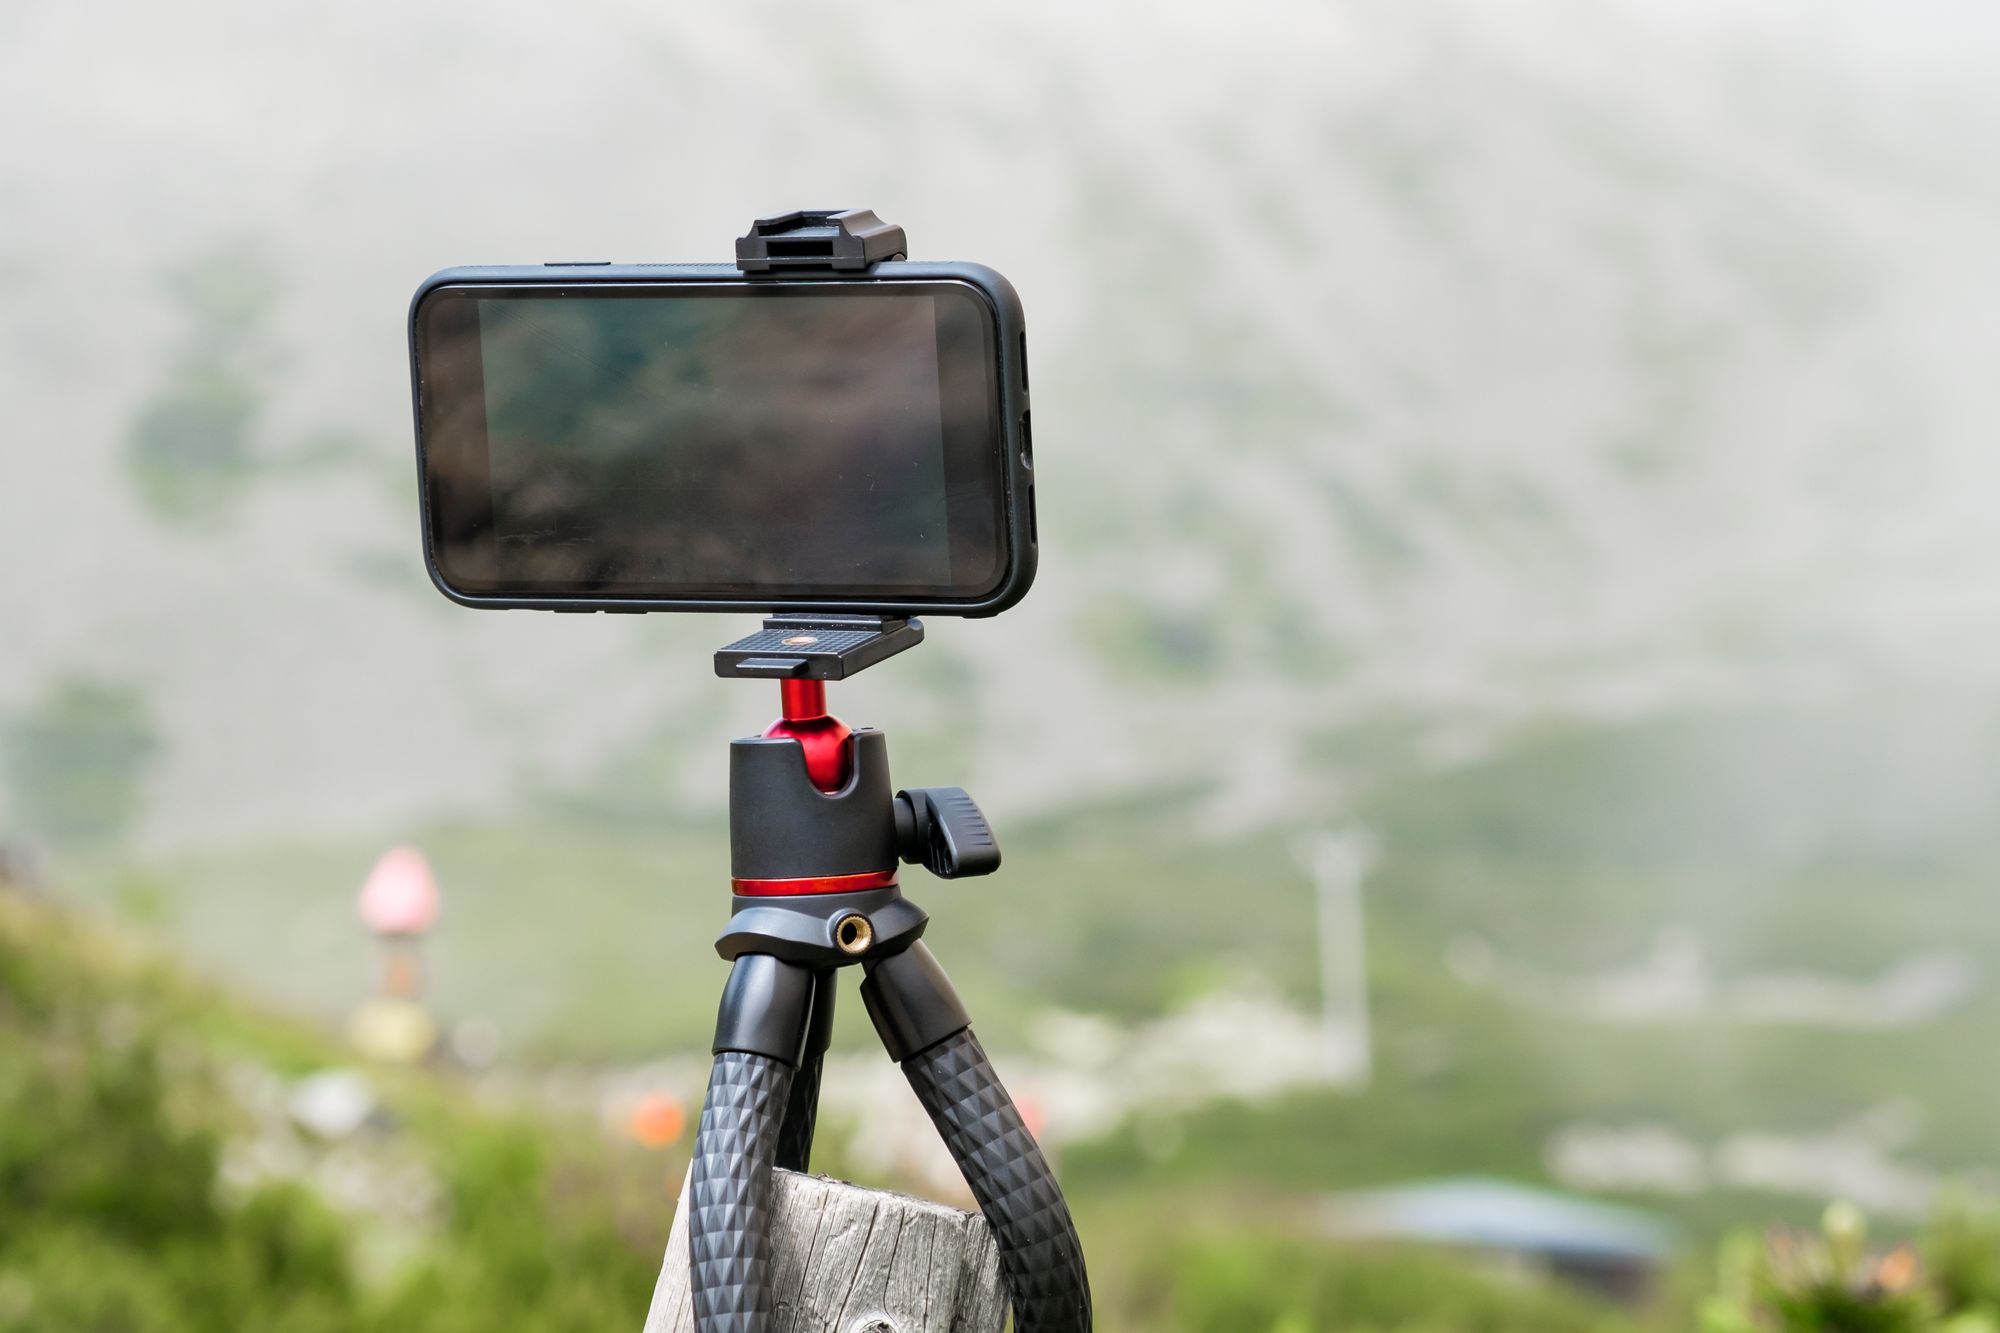
Shaky videos can be pretty distracting and negatively impact your recordings' overall quality.
To ensure a steady and professional-looking video, it's highly recommended to use a smartphone stand or tripod. These accessories are relatively inexpensive and readily available, keeping your phone stable and eliminating any unwanted shaking or vibrations. Investing in a smartphone stand or tripod can significantly enhance the quality of your videos, creating a more enjoyable viewing experience for your audience.
Consider the Background

When you're recording, paying attention to what is behind you is essential. Aim to have a clean and uncluttered background, free from distractions.
A busy or unprofessional background can distract your students, potentially affecting their focus and engagement. Ensuring a visually pleasing and professional background can create a more conducive learning environment for your students.
Sound Quality Matters

To ensure optimal audio quality, creating a quiet recording space is crucial. Please take measures such as closing windows, turning off noisy appliances, and letting others know about your recording session to ensure no interruptions.
Additionally, consider using a clip-on microphone, as it can significantly enhance the clarity of your audio. Luckily, various affordable options are available in the market to cater to your needs.
Record in Landscape Mode

When recording videos, it's always recommended to use the landscape mode (horizontal) rather than the portrait mode (vertical). By doing so, you can ensure that your videos look great on mobile devices and larger screens, such as laptops and desktop computers.
This will provide a more immersive viewing experience and allow your audience to appreciate the full scope of your content. So next time you hit that record button, remember to go horizontal for optimal video quality and compatibility across various devices.
Use a Teleprompter App
If you find yourself reading from a script during a video recording, you might want to consider using a teleprompter app on your smartphone. Doing so will allow you to maintain consistent and engaging eye contact with the camera instead of constantly looking away to reference your notes.
This helps establish a stronger connection with your audience and ensures a smooth and professional delivery of your content. So give it a try and level up your video presentation game!
Test Recordings
To ensure a seamless outcome, conducting a series of test recordings is highly recommended. By doing so, you can thoroughly evaluate and fine-tune both the visual and auditory aspects according to your preferences.
This proactive approach will help you to pinpoint and resolve any potential issues, giving you a smooth recording experience when you capture your valuable course material.
You don't want to record an hour-long video just to find out later that your microphone wasn't working, and you have to record all over again.
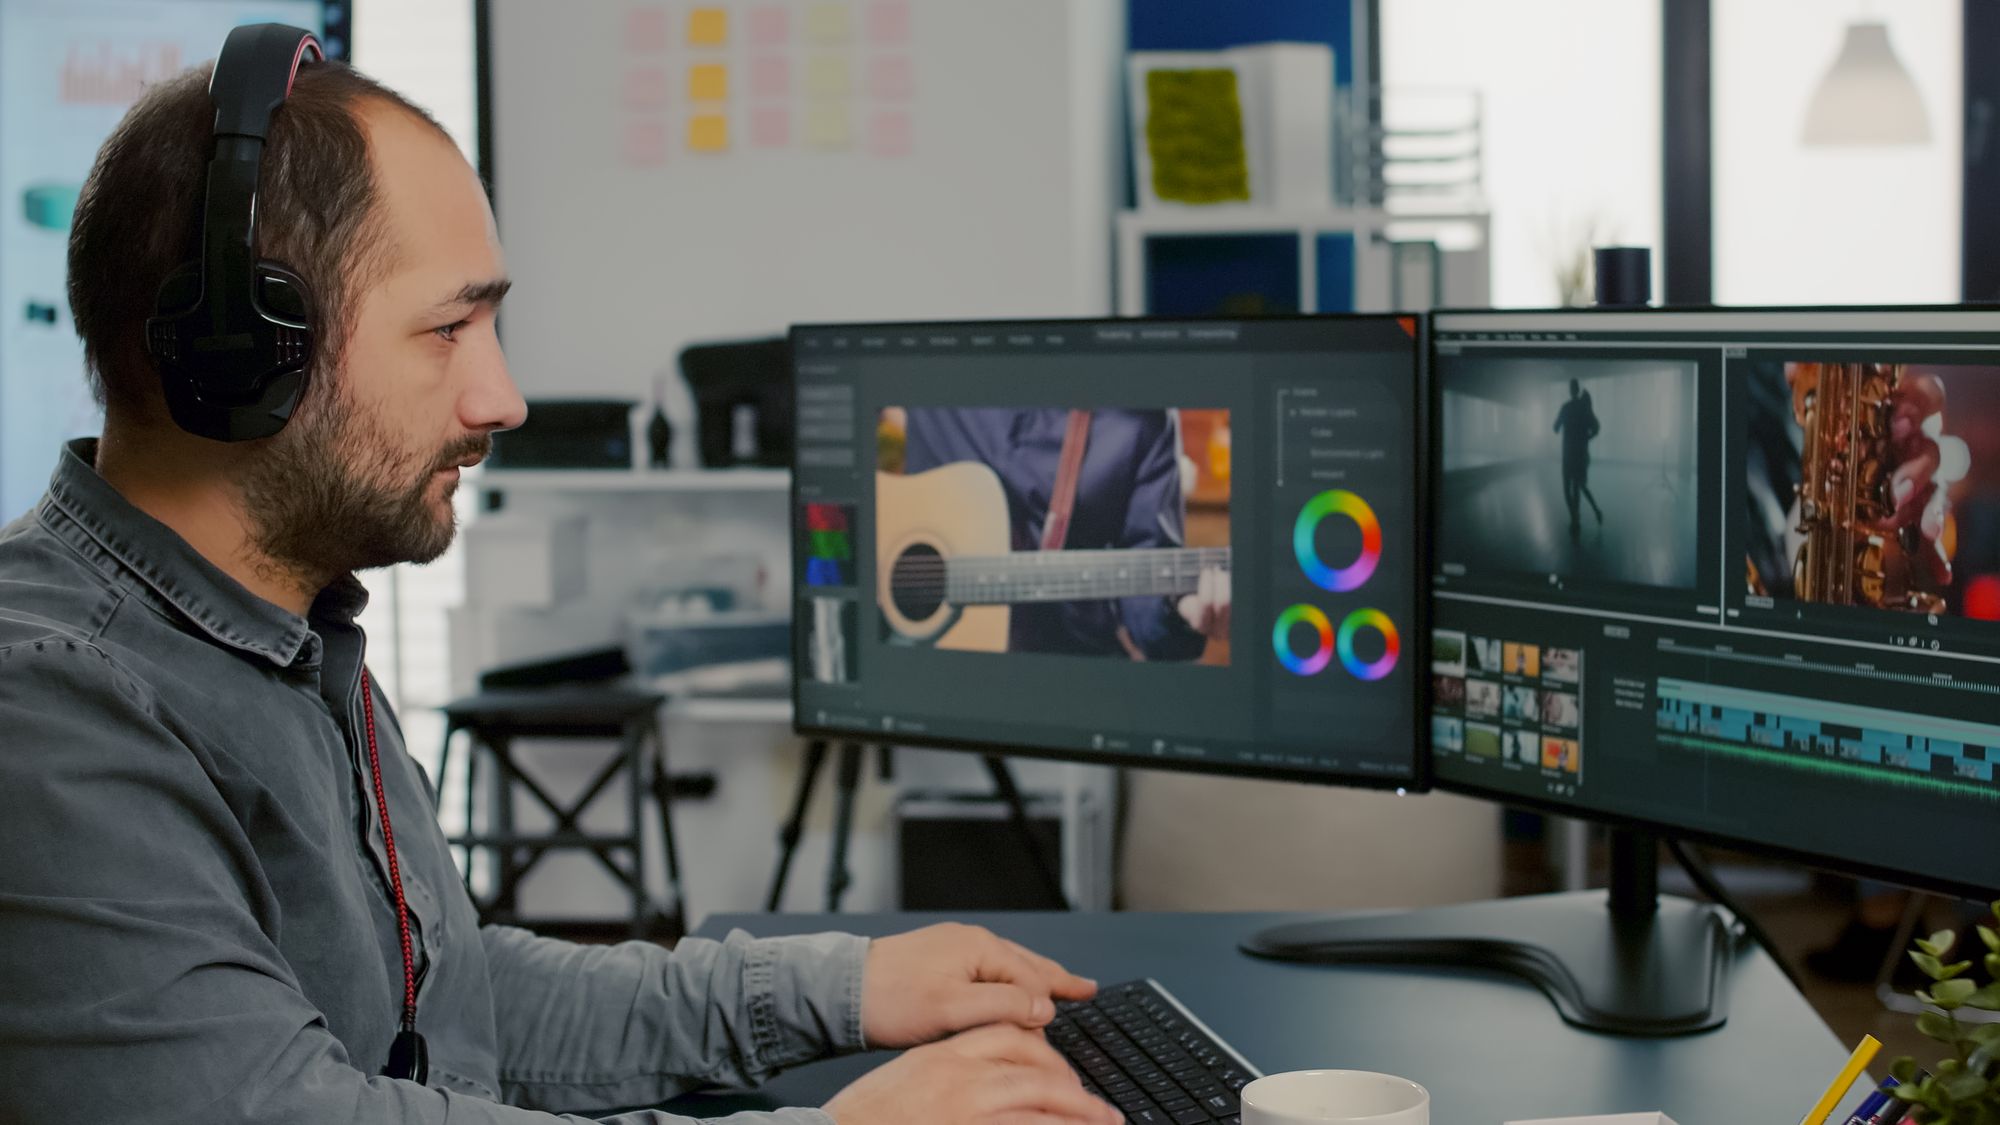
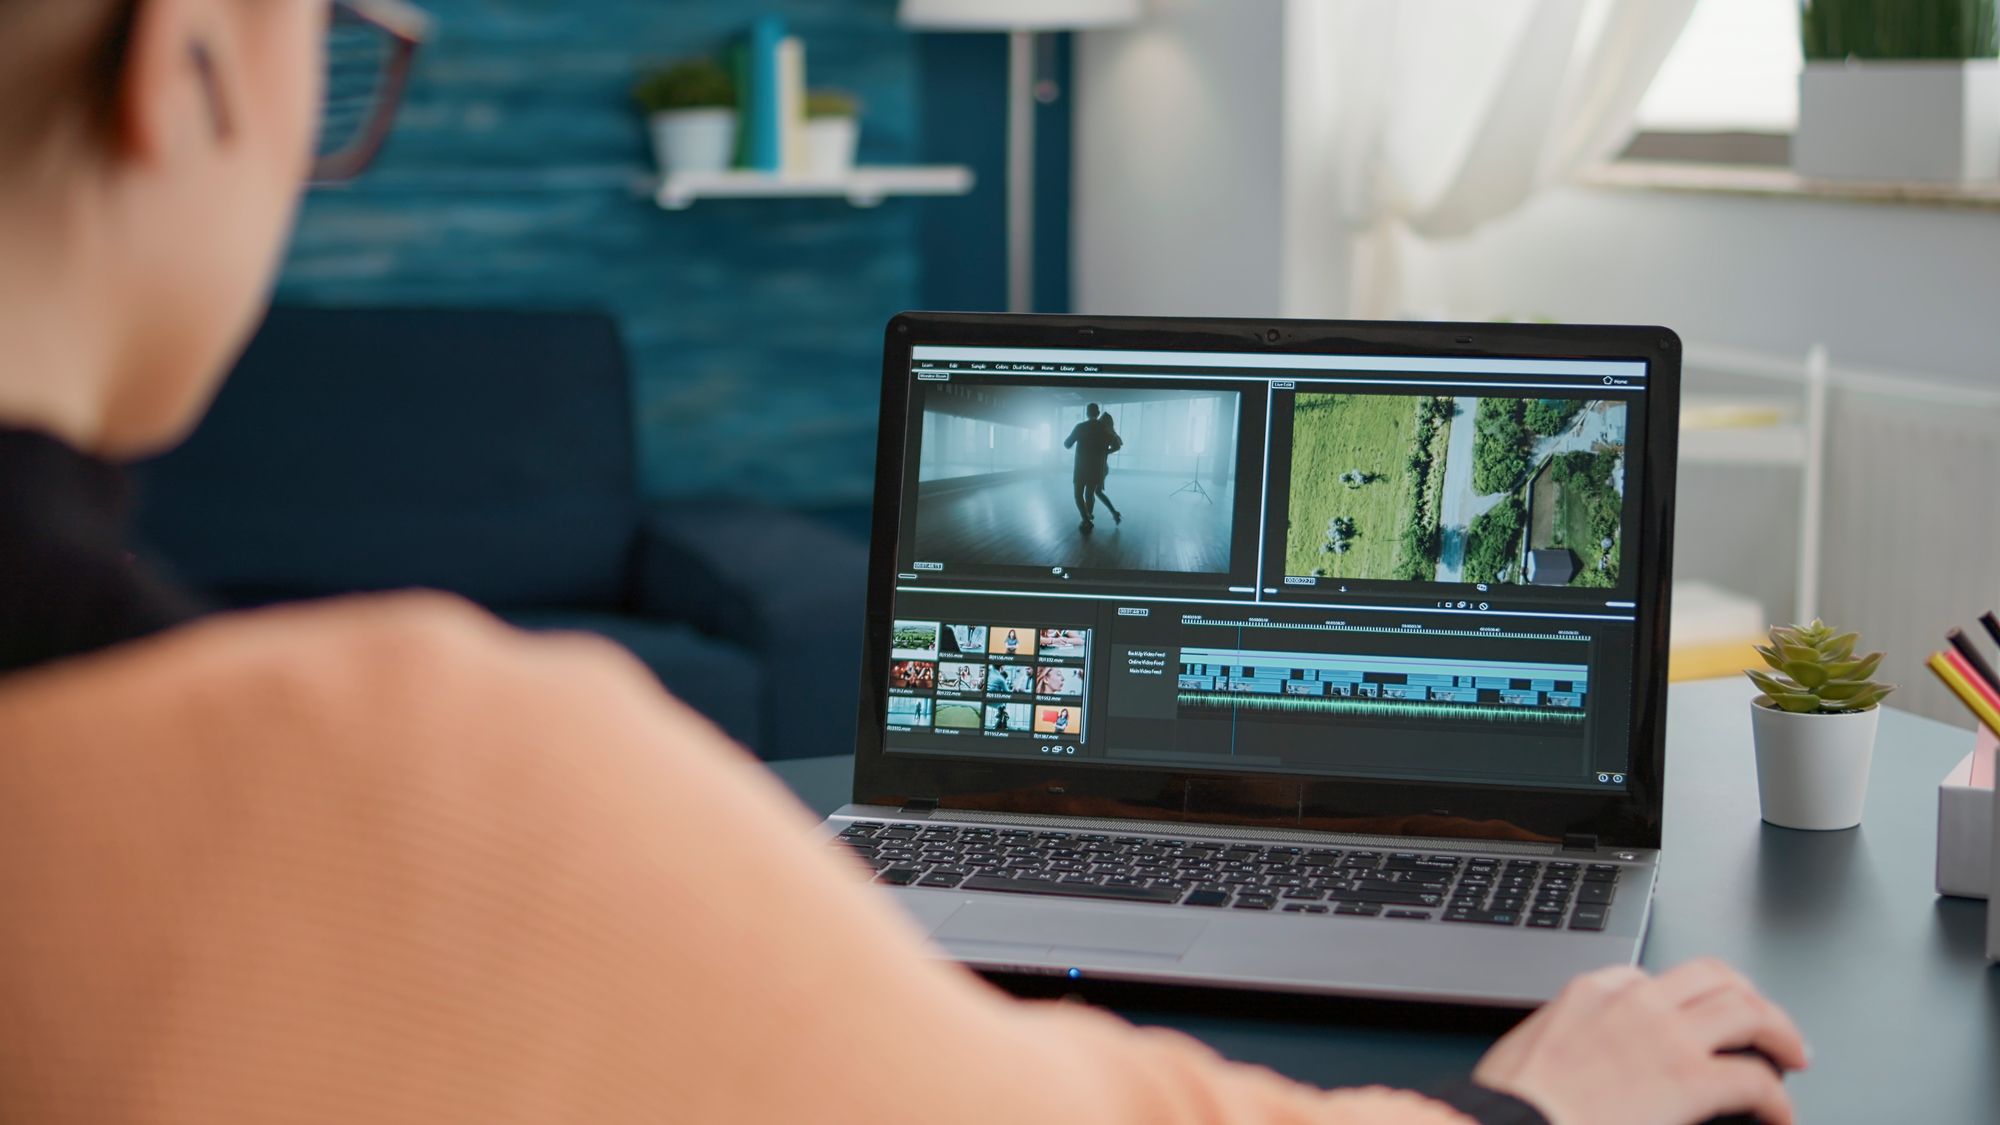
Editing
Once you have finished recording your videos, you can take them to the next level by using an editing app. These handy tools allow you to trim your clips, add captivating titles, smooth transitions, and eye-catching overlays. Whether you prefer a free or paid option, you have a wide range of video editing apps to choose from, such as InShot, Adobe Premiere Rush, and Splice, specifically designed for smartphones.
Save and Back Up Your Videos
Regarding your videos, it's always crucial to prioritize their safety and accessibility. Don't forget to save and back them up utilizing reliable cloud storage services such as Google Drive or Dropbox. By taking this extra step, you can ensure that your valuable content remains protected and accessible, giving you peace of mind.
Tips for using your Smartphone for Creating Online Courses
While striving for quality in your videos is important, it's equally essential to remember that the substance and clarity of the content you deliver hold paramount value.
Focus on creating engaging, informative, and relatable content for your students, which will undoubtedly be appreciated and make your course truly impactful. Remember, the value and clarity of your message resonate most, setting the stage for an immersive learning experience. Keep up the great work!
Edit Videos with Free Software
There are several options available when it comes to free video editing software. For Mac and iOS users, iMovie is a popular choice offering a user-friendly interface and a range of editing features. On the other hand, Windows and Linux users can opt for OpenShot, which provides similar capabilities and flexibility. With these software tools, you can effortlessly enhance your videos by adding subtitles and incorporating captivating graphics, resulting in professional-looking and engaging content for your online training programs and courses.
Import Your Footage
You start by importing your raw video footage into the software. You can do this by clicking on the "File" tab and selecting "Import" from the drop-down menu.
Most editing programs have a user-friendly interface that allows you to drag and drop your video files into the project area. Simply locate your files in your computer's file explorer, click and hold on them, then drag them over to the project area. Once you release the files, they will appear in your project, ready for editing.
Create a Timeline
Once you've imported your video into the editing software, creating a timeline is next. The timeline is the central hub where you'll perform most of your editing tasks.
It typically consists of multiple tracks that can accommodate a variety of media elements, including videos, audio tracks, images, and more.
This cohesive arrangement of tracks and creative elements gives you the flexibility and control to bring your video project to life with precision and finesse. So, dive in and let your creativity flow as you navigate the intricacies of the timeline!
Trim and Cut
When editing your footage, remove any mistakes, long pauses, or unnecessary parts to enhance the overall quality. In most video editing software, you will typically find a 'razor' or 'cut' tool that allows you to divide your footage into smaller sections.
These sections can then be individually moved, deleted, or modified, giving you more control and flexibility over your editing process.
Order Your Clips

You can drag and drop each clip to different positions to arrange your clips in the correct order on the timeline.
This allows you to effortlessly achieve the desired sequence you're aiming for, ensuring a seamless flow and visual storytelling in your content creation process.
Add Transitions
Transitions play a vital role in seamlessly blending two clips together. They can range from a straightforward cut, where one clip instantaneously replaces another, to a smooth crossfade, where one clip gradually takes over from another for a more artistic effect.
Using transitions is key to maintaining a polished and professional look in your video projects. You want to use them wisely and only when necessary. By strategically applying transitions, you can enhance the visual appeal and create a smooth viewing experience for your audience.
Add Titles and Text
To maximize the impact of your video, consider incorporating attention-grabbing titles at the beginning and throughout the video to emphasize critical points effectively.
Ensure the text is easily readable and strategically positioned not to obstruct any crucial parts of your video, allowing viewers to engage with the content fully.
Include Visual Effects

If the capabilities of your software permit, you may want to consider incorporating captivating visual effects, such as zooming in and out, panning across the screen, or even incorporating a picture-in-picture feature.
However, it is crucial to exercise caution and avoid excessive use of these effects, as they may divert your students' attention from the main focus. Striking a balance between engaging visuals and maintaining a productive learning environment is key.
Improve Audio Quality

To ensure optimal audio quality for your video, it is recommended to thoroughly check for any unwanted background noise and eliminate it if possible. Additionally, take the time to carefully adjust the volume levels to ensure a consistent listening experience throughout the entire video.
If necessary, consider incorporating voiceovers to enhance the clarity and comprehensibility of your content. By taking these steps, you can significantly improve the overall audio experience for your viewers.
Add Background Music

If you want to enhance your video, consider adding a subtle background music track. It's essential to ensure that the music does not overpower your voice, creating a balanced audio experience.
Additionally, to avoid any potential copyright issues, it is advisable to use royalty-free music that is readily available. By following these steps, you can take your video to the next level with the perfect soundtrack.
Insert Subtitles
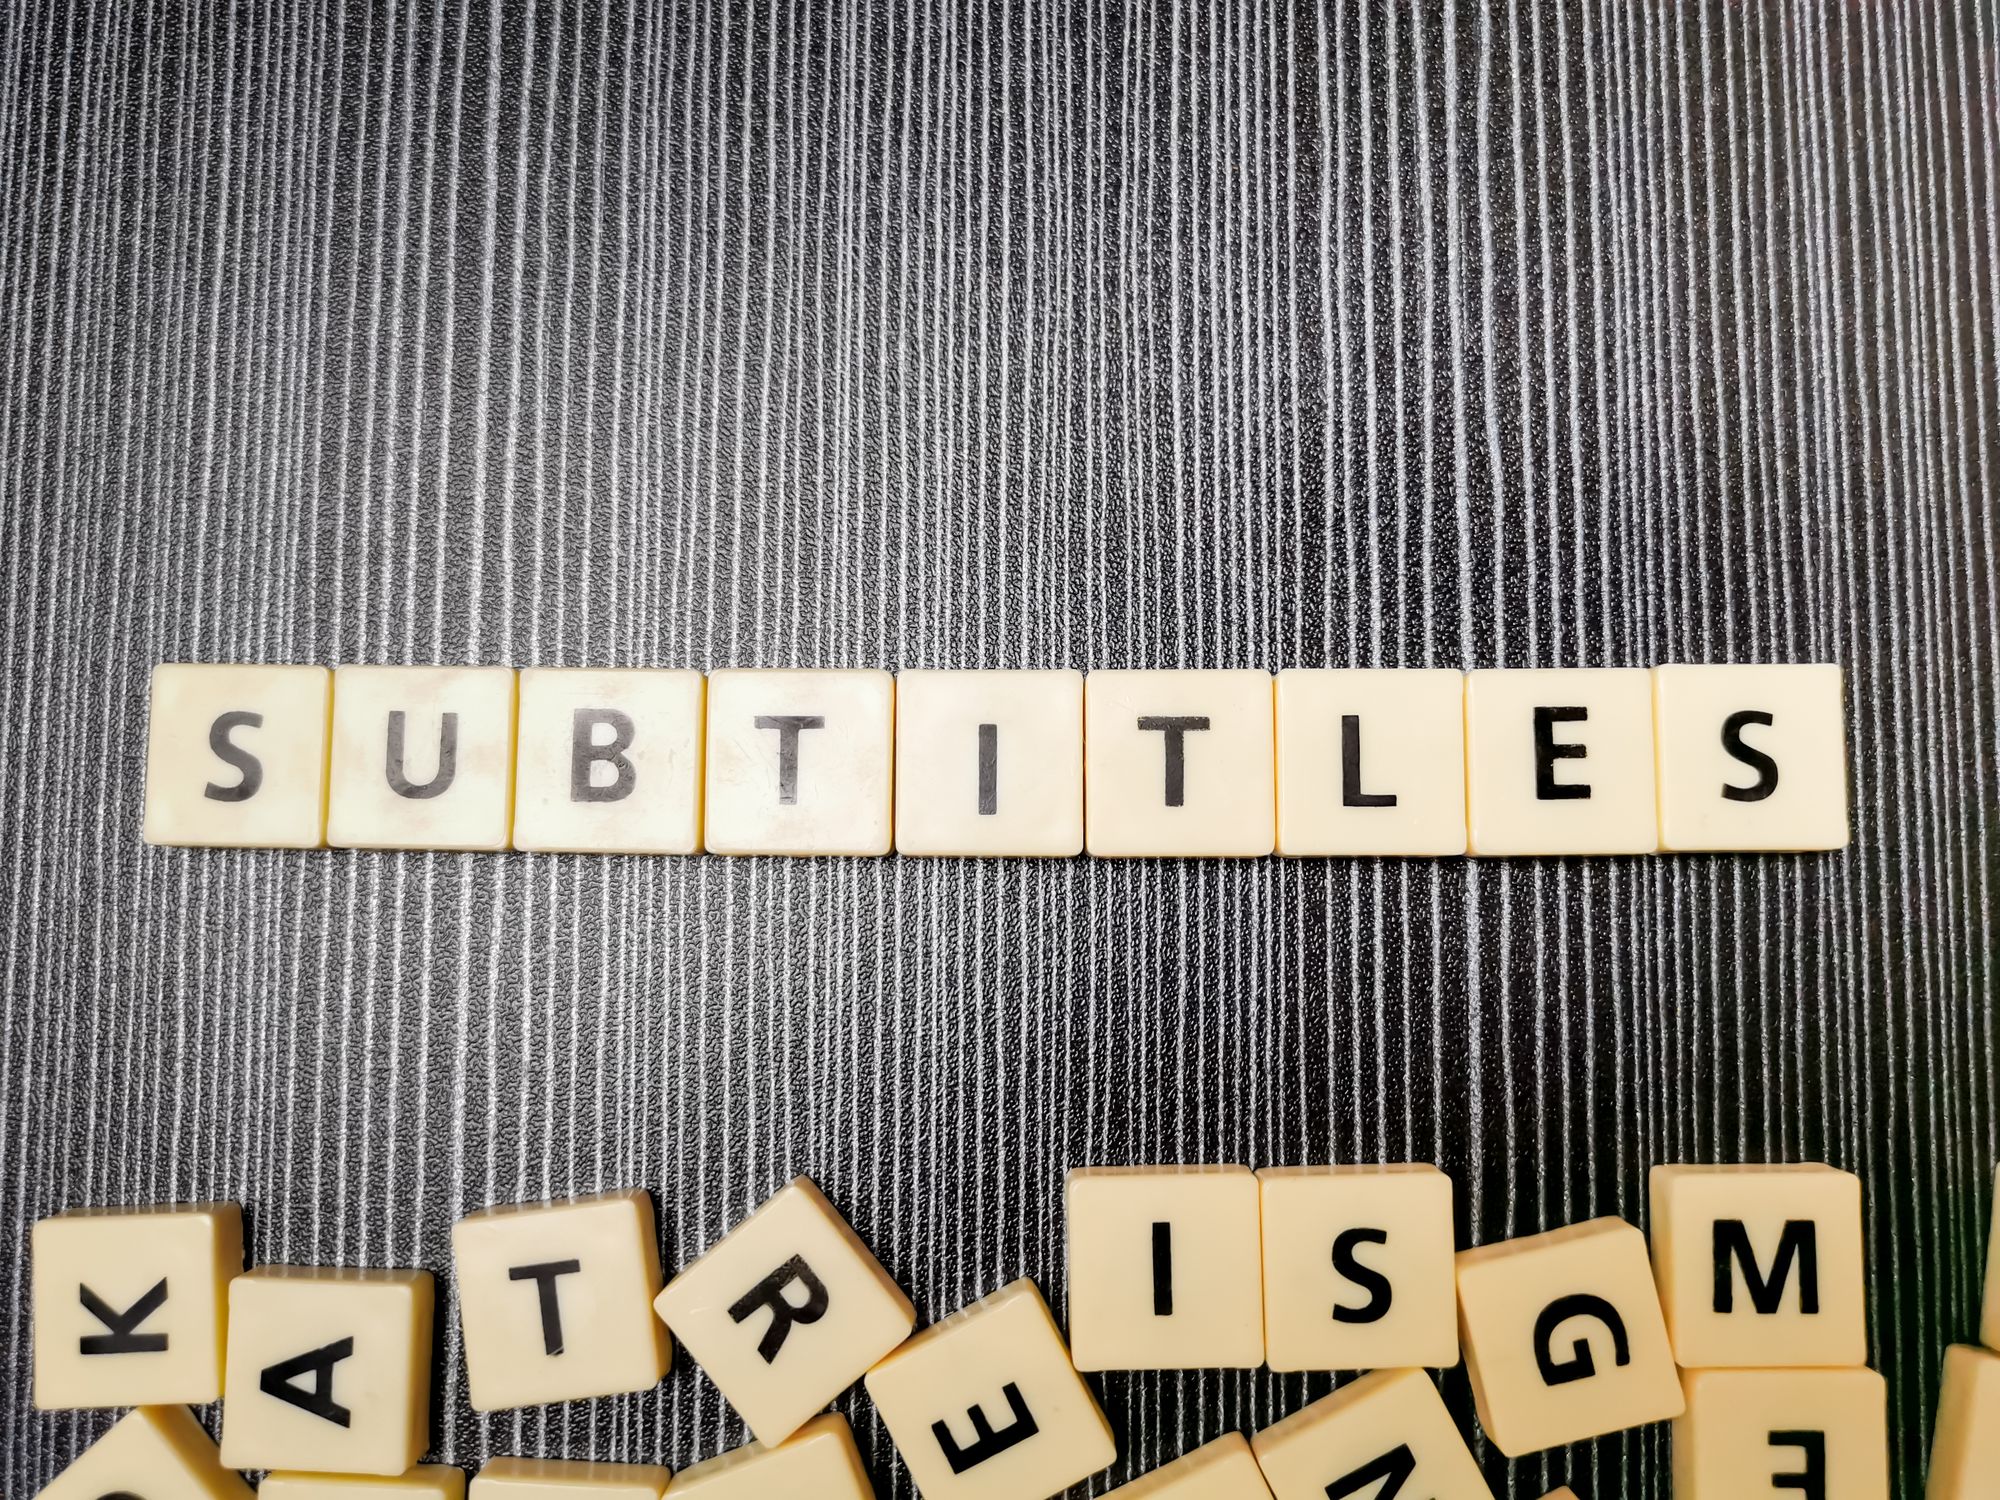
If your software supports it, considering the addition of subtitles to your videos can significantly enhance the accessibility of your course. By providing subtitles, you can cater to non-native speakers who may benefit from written content in their native language and individuals who are hard of hearing and rely on visual cues to comprehend the presented information.
Ensuring that your course is accessible to a wider audience fosters inclusivity and promotes effective learning for all.
Preview Your Video
Take time to watch your entire video, carefully examining every frame to review for errors or inconsistencies. By doing so, you can ensure that the content flows smoothly and seamlessly, delivering a polished and impactful result.
Export Your Video
Once you're satisfied with the final product, it's time to export your video. Your export settings will vary depending on the platform where you plan to upload your video. For instance, if you're uploading your video to a platform like Udemy, they will provide you with specific guidelines for optimal video settings.
Practice Makes Perfect
It's essential to remember that video editing for course creation is a skill that can be refined through practice. As you become more acquainted with your chosen editing software, you'll improve your technical proficiency and learn how to effectively edit your videos to create professional and captivating course content.
So, don't be discouraged if you encounter challenges initially - with time and practice, you can produce high-quality videos that engage your audience effortlessly.
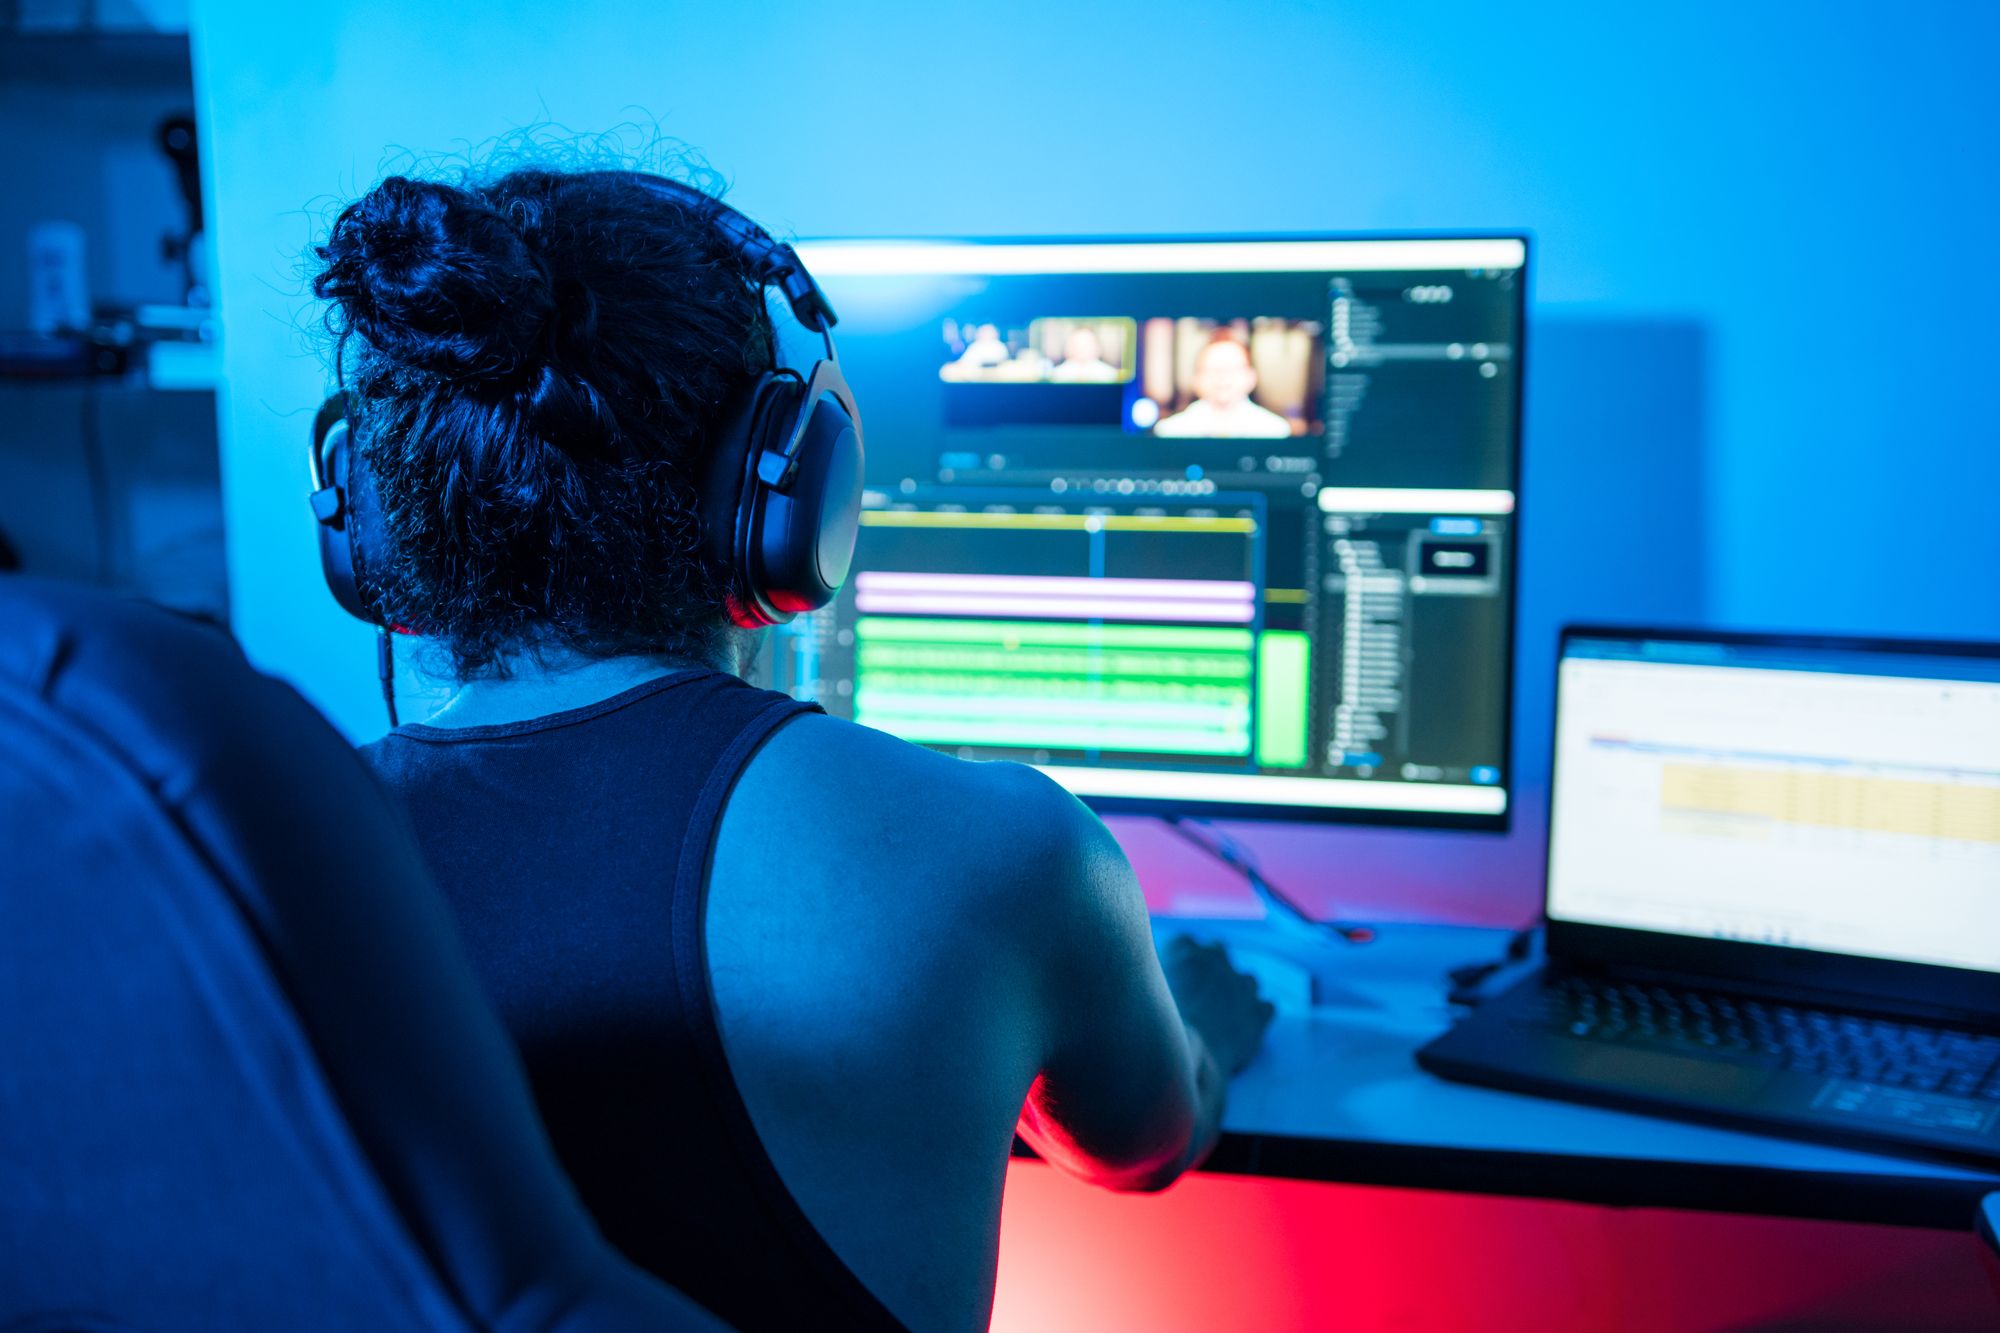
Use Free Audio Editing Tools
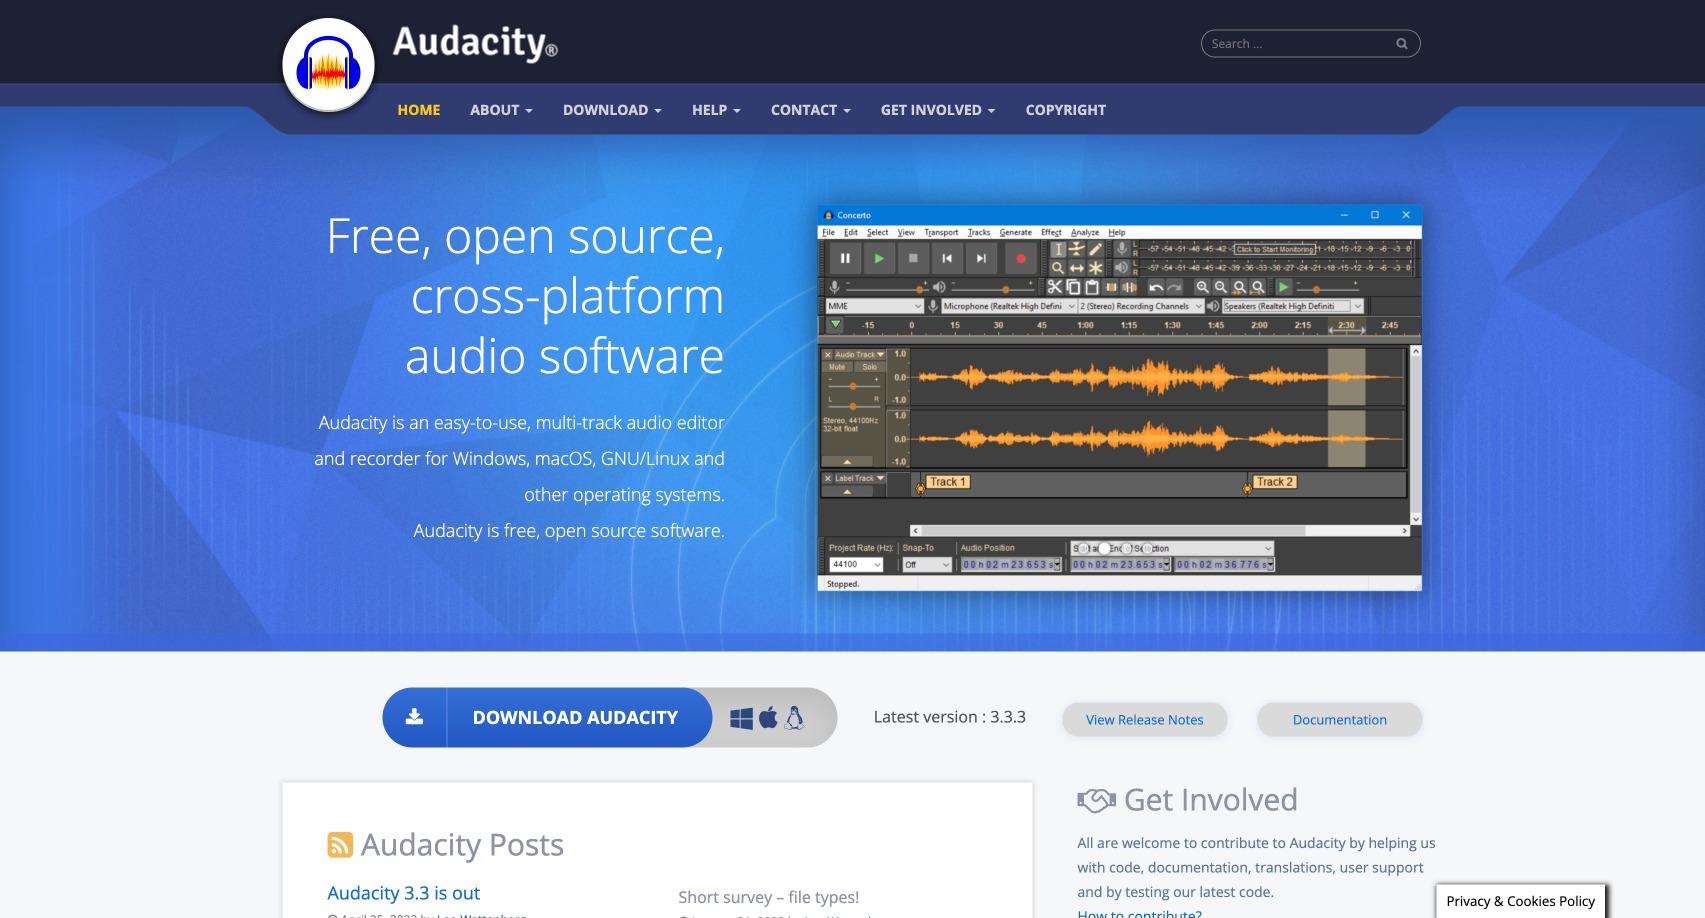
If your course includes podcast-style audio lessons, free software like Audacity can help you record and edit audio to ensure it's clear and crisp.
Setup
To get started, begin by downloading and installing Audacity on your computer. This versatile audio editing software is available for multiple operating systems, including Windows, macOS, and Linux. Audacity's user-friendly interface and powerful features provide an excellent platform for editing and enhancing your audio files.
Record Audio
To start recording audio, simply locate and press the prominent red record button. When speaking, it is recommended to articulate your words clearly, ensuring optimal audio quality. Additionally, maintaining a consistent distance from the microphone throughout your recording session will help to ensure even audio levels and enhance the overall listening experience.
Import Audio
If you have pre-recorded audio that you would like to import, you can easily do so by following these steps: Click on 'File' in your application, then select 'Import' from the menu. From there, choose 'Audio' as the file type you wish to import.
Selecting Portions of Audio
To select a portion of the waveform for editing, utilize the selection tool, which is represented by the I-beam icon. Simply click and drag the cursor over the specific area you wish to choose. Please take your time to ensure that you are clear and accurate in your choice.
Cut, Copy, and Paste
Once you've selected a portion of audio in your audio editing software, you can easily cut or copy it, and then seamlessly paste it elsewhere in your track with precision and ease. This feature empowers you to precisely manipulate and arrange your audio elements, allowing for a seamless and cohesive listening experience for your audience.
Delete Unwanted Parts
To enhance the audio quality, utilize the 'Cut' feature (or simply press the Delete key) to eliminate any mistakes or prolonged silences that might occur throughout the recording process.
Reduce Noise

If you find that your audio recording includes unwanted background noise, don't worry! You can easily reduce it using the 'Noise Reduction' effect available in most audio editing software. Here's how:
First, identify a portion of the audio that contains only the background noise. This could be just a few clicks or seconds of silence or a section where the noise is most prominent.
Once you have selected this portion, navigate to the 'Effects' menu and locate the 'Noise Reduction' option. Click on it and choose 'Get Noise Profile.' This step allows the software to analyze and understand the specific characteristics of the background noise.
Next, select the entire waveform or the entire audio track and return to the 'Effects' menu. Again, choose 'Noise Reduction', but this time click on 'OK.' The software will apply the noise reduction settings based on the noise profile gathered earlier.
Adjust Volume Levels

Adjusting the volume of your audio can be quickly done using the 'Amplify' effect. This feature is handy when you need to make quiet audio louder or loud audio softer. To utilize this tool, select the specific audio portion you wish to adjust. Next, navigate to the 'Effect' tab, click on 'Amplify,' and manipulate the slider according to your desired volume level. It's a straightforward process that gives you complete control over the audio presentation.
Add Effects
Audacity, the versatile audio editing software, offers an array of captivating effects that can elevate your audio creations. Alongside the classic echo, reverb, and pitch change effects, Audacity provides various other audio enhancements. You can craft and refine your sound by experimenting with these effects to achieve the desired audio masterpiece.
Preview Your Audio

It is crucial to always listen to your entire recording carefully after you have finished editing it. This step allows you to ensure that the final outcome aligns precisely with your desired sound and meets your expectations. Reviewing the recording in its entirety allows you to make any necessary adjustments or refinements, resulting in a polished and professional audio production.
Export Your Audio
Once you're satisfied with your audio, you can export it. Go to 'File' > 'Export' and choose your desired format. MP3 is commonly used, but you might prefer WAV for higher quality.
Remember, just like with video editing, audio editing is a skill that improves with practice. Don't be discouraged if your first few attempts aren't perfect. You'll get better with time.
Provide Additional Resources for Further Reading
You don't have to create all the course pages and the material yourself. Link to reputable resources available online for further reading. This can provide additional value to create courses for your students and save you time and effort in content creation.
Finding reputable resources for further reading is crucial in enhancing the educational value of your own course. Here are some places where you can find these resources and some examples for various fields:
1. Academic Databases: Websites like JSTOR, Google Scholar, and PubMed provide access to many scholarly articles, case studies, and research papers.
Example: If your course is about Psychology, you could share a link to a research paper on cognitive behavioral therapy from PubMed.
2. Online Libraries: Digital libraries like Project Gutenberg and Open Library offer access to thousands of free books.
Example: If you're an online school teaching a course on classic literature, you could provide links to relevant books available on Project Gutenberg.
3. Online Encyclopedias: Websites like Wikipedia and Britannica have vast information on almost any topic. While they shouldn't be the primary source of information, they can serve as a good starting point for research.
Example: If your course covers history, a Wikipedia page on a specific historical event can offer numerous resources and references at the end of the article.
4. Educational Websites and Blogs: Websites like Khan Academy, Coursera, and educational blogs specific to your subject can be excellent sources for further reading.
Example: If your first course is about data science, you might recommend a specific course on Coursera for more in-depth learning.
5. Industry-Specific Websites: Websites that are recognized authorities in their respective fields can be excellent sources.
Example: If you're teaching a course on digital marketing, you could reference articles from websites like Moz or HubSpot.
6. Government and Nonprofit Organizations: These often have reliable information on various subjects.
Example: If your course is about environmental conservation, you can create online courses that might link to resources from the Environmental Protection Agency or the World Wildlife Fund.
Remember, the key is to ensure that the resources you link are reliable, reputable, and will provide genuine value to your students. Always cite all the details and original source to give proper credit.
How Free Tools Help Your Online Course Business
Creating high-quality course content while managing a tight budget is difficult. But with the right tools, it can be achieved with careful planning and resourcefulness. As a course creator, your goal should always be to provide your students with exceptional value. By meticulously designing your content, you can ensure that they learn what they signed up for and gain valuable insights and practical skills that they can apply in real-world scenarios.
Moreover, free online tools can help make this process more efficient and cost-effective. These assets enable course creators to develop engaging content with minimal investment or resources quickly. They also let them experiment with new ideas without fear of wasting time and money on development.
So, don’t just focus on financial constraints when creating a course. Focus on providing immersive and impactful learning experiences that will make your course successful — embrace the challenge, think creatively, and empower your students to unlock their full potential!